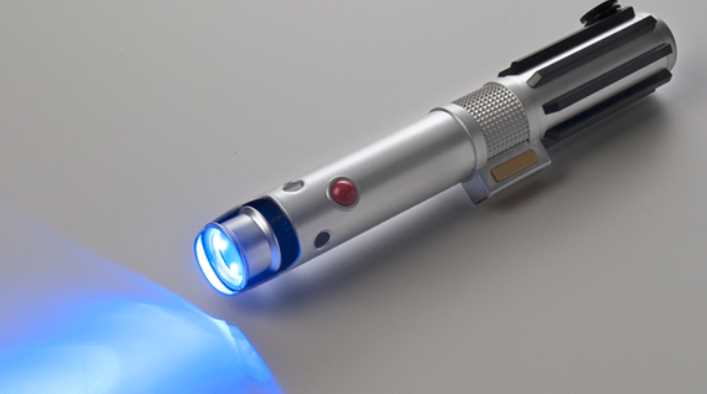
A flashlight’s beam handiest is going thus far, so it is simply now not as vivid as some of the fancier save-sold lightsabers, but that is a pretty cheaper manner to do a homemade one with a flashlight.
As a standard rule, the beam is brighter the shorter the lightsaber blade is, so if you’re making a child-sized blade, this may without a doubt paint in reality properly.
I failed to do the lightsaber hilts, this is just a how-to for the blade, but the hilts can be finished by way of hot glueing on a few strips of craft foam or cardboard inside the shape of whichever lightsaber you are developing, after which having the right areas painted silver.
How to Make DIY Lightsaber Toy
Step 1 – Prep Tubing
Ensure you’ve got the tubing cut on your unique lengths. Darth Maul style lightsaber that required a hilt of two feet and two blades at 36″ every. For the extra classic lightsaber we used a hilt of about a foot and one 36″ blade.
Step 2 – Base Coat
After making sure you’ve cut tubes correctly, determine the kind of base layer you want for the hilt whether it’s black tape or silver tape. We chose black as we had an abundance.
Step three – Details
We commenced with the goal of modelling ours after the films, however the creative malicious program took us in a new route. Here is a pattern from any other DIY we determined in case you are fascinated, despite the fact that you ought to make certain it is revealed to the accurate size of your tubing
Step 4 – Prep Blade
Scrub down the tube that you’re using in blade with a Brillo pad or the scrubby aspect of the kitchen sponge. This will depart from a frosted look that facilitates replicating the light down the blade.
Step five – Finish blade
Wrap a 6”inch huge piece of foam across the base of the blade. Then use a bit little bit of tape to wrap the froth on the way to be more seen whilst the blade is within the hilt
Things To be Kept In Mind
It’s small enough to where you can build your handle around it. Even the lightsaber of Count Dooku with the 45° angle lightsaber. This particular model can function perfectly with the angles of up to 90° without any problems.
The clip on the back can be removed if necessary. Plus unlike most other flashlights, this particular brand is rechargeable using a magnetic charger and a USB charging system just like a cell phone or tablet device that you currently use.
I previously assisted two of my friends to make their handles for their lightsabers. Just be careful because this brand of flashlights are very very bright and have blinded us several times when we were building theirs.
As for the blade, they used a clear plastic tube that was lightly painted white so that the colour filter that we used made the blade glow like in the movies.
We found those in Lowe’s hardware. As for the construction? I wasn’t involved because they followed the Star Wars theme when Luke Skywalker had built his own.
Issues with Magnetic Fields
Not as most people imagine. The traditional model involves using magnetic fields to constrain the plasma and form it into a blade. Magnets actually work pretty well for this, since plasma is positively charged.
The problem is that these magnetic fields aren’t particularly rigid. You’d be able to form a coherent shape, but if you ever tried to use it as a weapon you’d find it suddenly turning into spaghetti. …Or serving as a catalyst for nuclear fusion.
The only viable designs for a lightsaber requires a solid ceramic core at the centre of the blade that pumps plasma through tiny perforations all along its length, serving essentially as a really big array of plasma cutters.
The catch is that you expend plasma, requiring it to pull in a constant supply of atmosphere to generate the blade. So no using the thing in space, underwater, or anywhere with large deposits of flammable gases.

